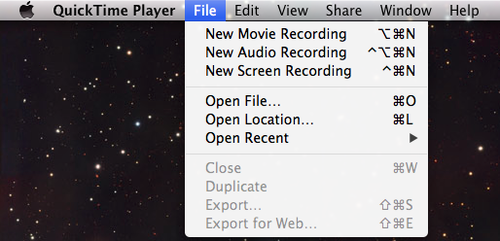
- Get a video/clip you want to 3D-ize. I use Quicktime screen record to record certain parts of youtube videos.
2. On photoshop CS5, go to file>import>Video frames to layer and click that.
3. select the portion of the clip you want to gif. Preferably keep it short. The less frames the easier for you, because later you have to do a lot of manual work. I limit the frames to about every 2.
3. Do all your edits you want on the gif now. (color, frame rate, etc)
4. Make your gif size 500 px in width. Height doesn’t matter.
5. Now you want to duplicated one of the frames. (doesn’t matter which one you just need one for reference, you’ll be deleting it later.)
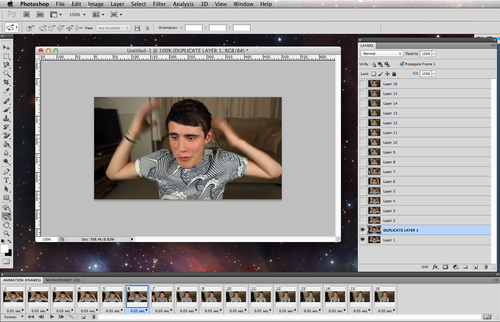
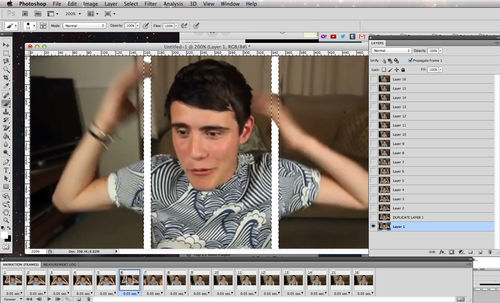
6. Now you want to use the Rectangle Marquee tool and set it to 10 px width x the height of your gif. *now you want it to look like a 3-photo photoset so set two 10x width bars by three. (Each part between the two Marquee bar should be 140 px in width.)
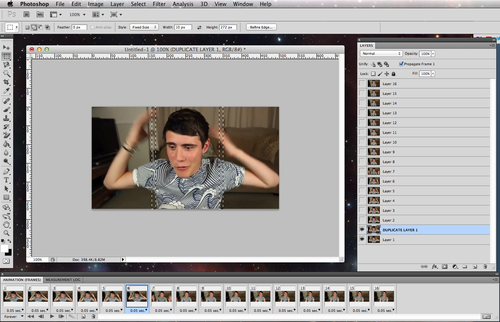
7. Make only the first frame visible now..

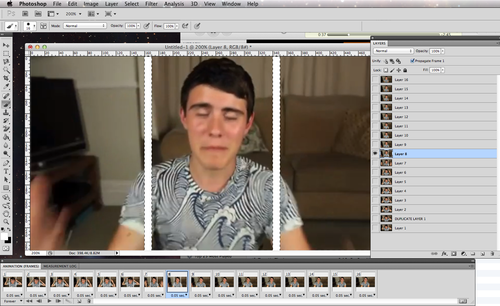
8. Now its the manual part aka the hardest part… :P
Go frame by frame and fill the bars with solid white. And making the part you want 3D prominent.
Half way there…
9. After you’re done, delete the extra frame you duplicated earlier.
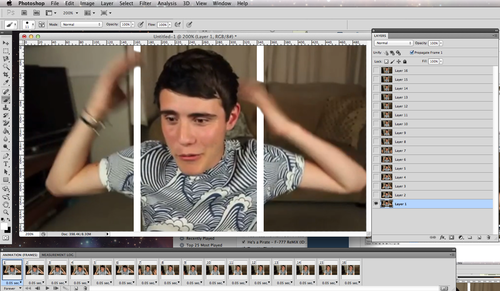
now play. The smoother and nice you fill each of the bar, the nicer the gif will probably come out.
outcome:
didnt put as much effort for this gif compared to my Dan gif..reason why it really isn’t that smooth and flow-y. But that’s the gist of it.
-Hannah
No comments:
Post a Comment